


Daltile Products


AMERICA'S LEADER
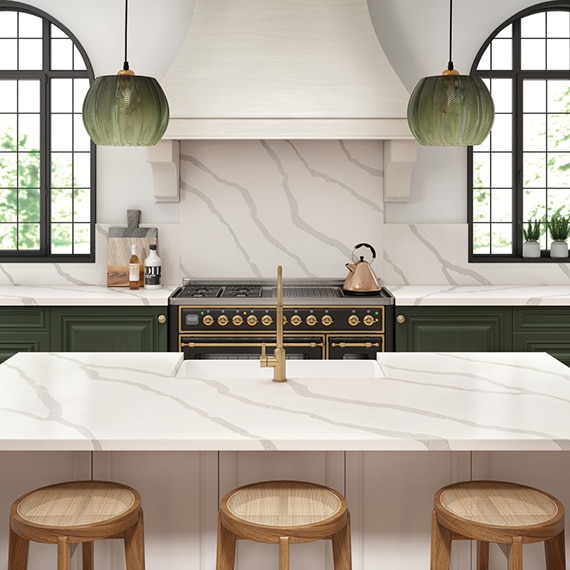
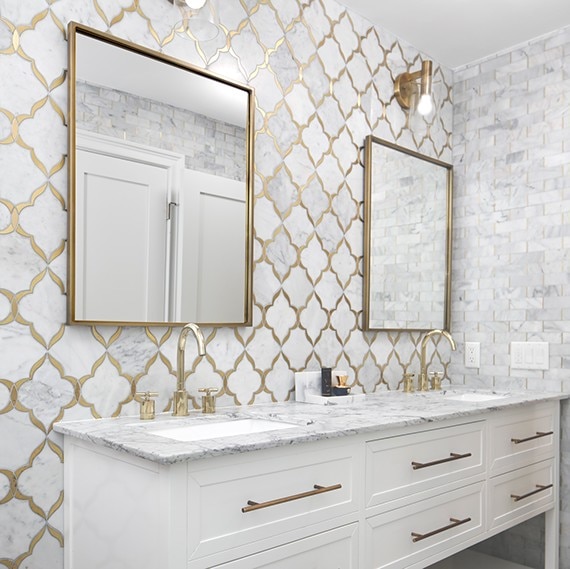
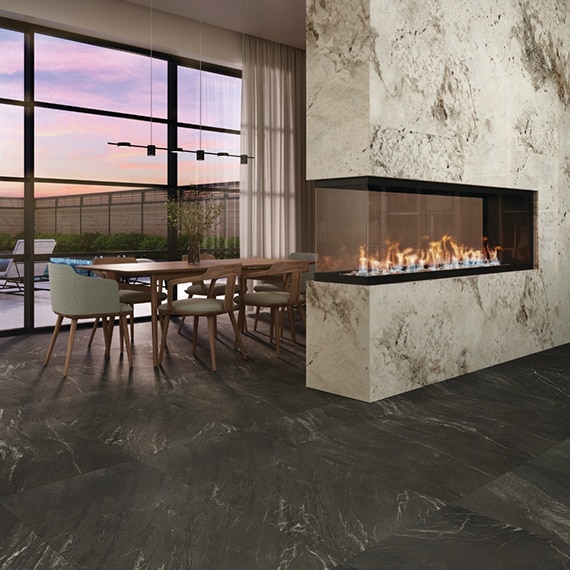
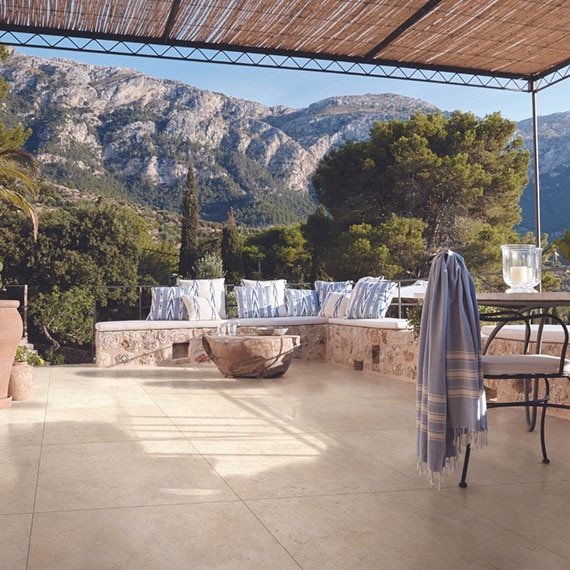
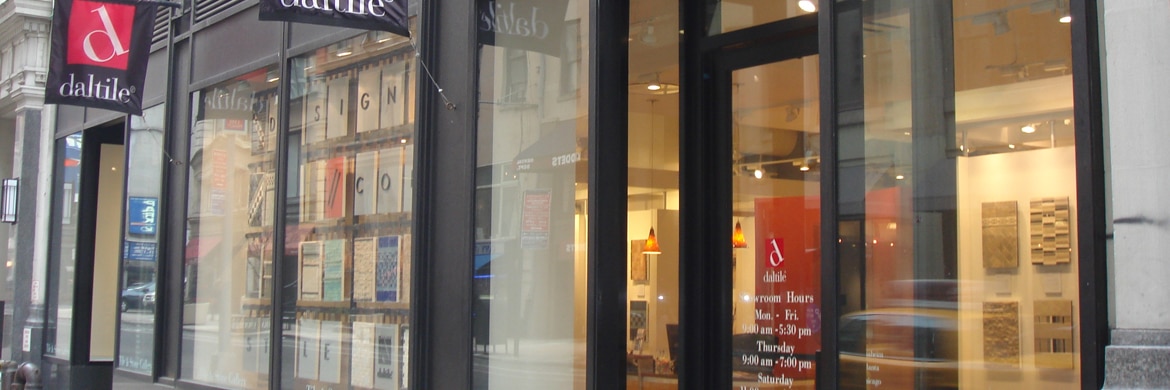
Daltile is the country's leading manufacturer and distributor of ceramic tile, porcelain tile & natural stone. Built on a tradition of outstanding design, quality, and service, for 75 years we have set the standard for the tile industry. We are committed to providing trustworthy floor tile, wall tile, and countertops, with over 70 of our collections proudly made in the USA.
Why Daltile